Wednesday, February 4, 2015

Our First House


We moved into our first house in 2006.  Ken and I were living in Massachusetts and while he was still in grad school I was working at a great job as a designer in RI.  Our house was a nice cape next to a river and a nice wooded lot.  I loved that little house, but I was happy when the opportunity arose to be closer to our families.

Here are some photos of our first house.  Don't forget this was almost 10 years ago....our style had a lot of evolving to do!
(Please pardon that bad photos...this was before I had a nice camera or iPhone!)


The house looked very small from the outside, but with a full dormer in the back, it was actually very spacious.  
The house had a nice breezeway that we used as a sitting room/mudroom. I never did get around to painting over the previous owners "light house" stencil.

When you walk in the house from the mudroom, the next room you enter would be the dining room.  We did do a few projects in the three years that we lived in this house.  One of which was a small kitchen and dining room renovation.  We did all of the work ourselves (with the exception of refinishing the hardwood floors) on a very small budget.

Here are some before and afters:


Dining room BEFORE

Dining room AFTER


Dining room AFTER (looking into the mudroom)

Kitchen BEFORE.  Very 1950's. (Wow I had a lot of clutter back then!!)


We scraped not one, but 2 layers of linoleum off the oak hardwoods underneath.


Kitchen AFTER.  We couldn't do an addition because of where our septic system was so we opened up the wall to at least make the space feel bigger.

We used IKEA cabinets and a quartz countertop.

The house had cute 1950's arched doorways that I actually really liked.

Living room.

Our living room.

Sitting room off of the foyer. Red paint was popular for walls at that time!

The first floor bedroom never got much attention, but the floors sure looked nice.

The office area was off to the left at the top of the stairs.


We also did a small bathroom renovation.  We replaced the shower and floor tiles and replaced the vanity with a DIY made from an old dresser we picked up in Maine.

Master Bathroom Before and After:

Shower/tub area BEFORE


Shower/tub area AFTER

Vanity area BEFORE

Vanity area AFTER

Master Bedroom


Our master bedroom had a small seating area and a walk-in closet.

Upstairs bedroom was used as a nursery when Alice was little.


Looking back at these photos, I realize that this house was a great "blank slate" and that it had a lot of potential. I guess I must have thought that when we bought it too, although we really didn't live there long enough to take advantage of that and make it our own.  It was a great starter house and it sure made me realize what I liked and didn't like about a house....small kitchens and carpet (among other things)!


Tuesday, February 3, 2015

Getting down to business

So, a few weeks ago, while I was sitting around recovering from major surgery and all my friends were already starting on their New Year's resolutions, I was coming up with a plan.  I decided I was going to focus on three major goals this year.  You can read about my 1/10/1 plan here.

I knew the easiest part of the plan for me would be the "getting rid of stuff."  I find purging things so rewarding.  I have been a dedicated de-clutterer for as long as I can remember.  Especially since we moved from our first house in 2009 and realized we have just way too much stuff! I hope after a year of this plan of getting rid of things that don't really have meaning or usefulness we won't have to do these major de-cluttering purges in our house in the future.

So I decided to start with the girls "junk drawer."  It's a place where I put parts of games, miscellaneous toys, etc.

Here's what it looked like before (please pardon the blurry iPhone pics):

Lots of random stuff!


I took everything out and donated a bunch of stuff.  I planned on getting rid of at least 10 things per week and cleaning out this drawer accomplished that quota easily.  


Most of the things I got rid of where "prize" toys that the girls never played with for more that a day after they got them.  I know that is an area we will have to work on this year to stop bringing those things into the house in the first place.  I am not sure how to get other people that contribute to this to understand, but I will have to work on that too.

So here is what the drawer looks like after.  I did let the girls keep the things that I see them play with.  Also, now we can actually see what is in the drawer and grab a few things to take with us if we are going somewhere and I need to make up a small play bag to keep the girls occupied.


So, now for the harder tasks in my plan: Eating healthy and bigger projects!

Friday, January 30, 2015

Cold Winter Day

We've had a lot of cold winter days lately.  I am one of those people who would hibernate if I could, and that's actually the running joke between us and our neighbors.  "See you in the spring," they say every fall, knowing I won't be out and about until the weather reaches above 60 degrees.

So, we're having a lot of pajama days too, which is just fine by me.  Hope you are all staying warm, and I am excepting invitations to Hawaii!


Tuesday, January 27, 2015

Charish Mood Board

A few weeks ago I was asked if I would like to create a mood board for Charish.  I was excited to do it because let's face it, who doesn't love creating imaginary rooms with beautiful objects and furniture!

If you haven't heard of Charish you need to go check them out here.  It is a wonderful web-market where you can buy and sell items including vintage furniture, lighting, decor, rugs and even vintage designer jewelry! Like Ebay, but for luxurious stuff... So cool!  I love mixing old and new elements in a room to create a curated eclectic feel and at Charish you can find some great vintage items that are one of a kind and can really ground a room.

When I was thinking about what kind of mood board I wanted to create I thought a sitting room/living room would be perfect since that is where my mind is at these days.  As a matter of fact, my sitting room makeover is almost complete...just waiting on a few last projects, so once it is done I will share that.  But, in the meantime....

This is my imaginary gold, wood, jade and navy sitting room.  I feel like I was inspired by a Maxfield Parrish painting.  Love!


Vintage Laundry baskets // Abigail Rush Armchair // Mavi Shape up Pillow (similar ones here) // Elliot Tufted Ottoman // Mid-century Armoire/Chest // Vintage Globe // Gilded Songbird Print // Jade Green Art Pottery Vase // West Elm Jug Vase // Haeger Celadon Vase // Serra Flat Weave Rug // Wheeled Coffee Table // Nature Balls & Basket // Golden Velour Three Seat Sofa // Bicycle Pillow // Juliaca Ikat Pillow // Batik Butterfly Pillow // Van Gogh Print // Victory Pendant Light // Driftwood Glass Top Table

Tuesday, January 20, 2015

DIY kids chore chart


I have been wanting the make the girls a fun chore chart for a while now.  There are a bunch of cute ones you can purchase on Etsy, but I wanted to make one that was personal and more of a game.  

I also found a bunch of cute chore chart clipart on Etsy, but I figured I could quickly sketch up some myself and it wouldn't take too much time and it would be free!

I started by making a list of the chores my kids need to help with and then I sketched them up one evening while the girls were playing and Ken was watching football.  Then I scanned the drawings into my computer and used them as clipart and added wording for each chore. 


I used my paper cutter to cut each one to about 2 inches square.


I already had laminating paper that I have used for different things here and there, so that didn't cost me anything.


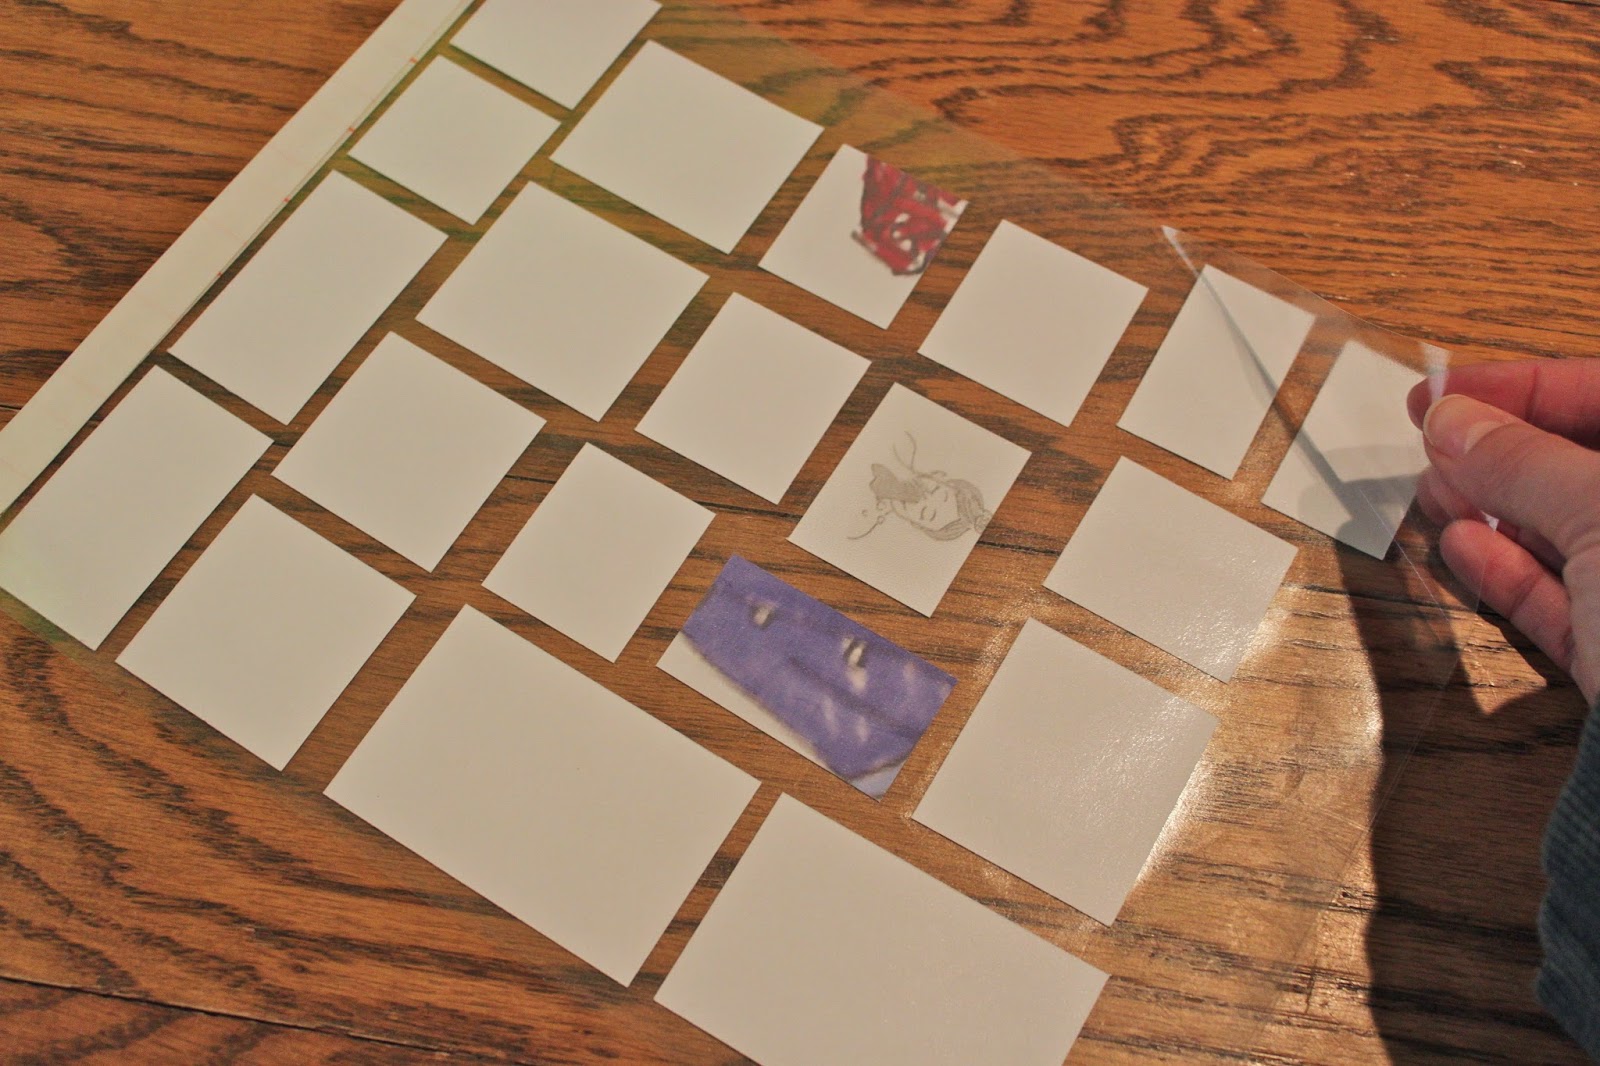
So, I put each chore tag face down on the laminating paper.


Then I put another sheet of laminating paper on the other side.  It's a little tricky to get it in the right  place, but you can un-stick it and re-set it if you don't press it down.  


I have found that the trick to getting it stuck really well is to use an old credit card and press it down up to the edges.


 Then I cut them all out.


Cut and stuck magnets on each one.


I found these magnetic wipe-off boards at Walmart for $5. each on clearance.


And there you have it! 
So far, the girls love their "chore game."  We shall see how long it lasts!


 I keep the extra chore tags on the side of the file cabinet.


Related Posts Plugin for WordPress, Blogger...