Tuesday, January 20, 2015

DIY kids chore chart


I have been wanting the make the girls a fun chore chart for a while now.  There are a bunch of cute ones you can purchase on Etsy, but I wanted to make one that was personal and more of a game.  

I also found a bunch of cute chore chart clipart on Etsy, but I figured I could quickly sketch up some myself and it wouldn't take too much time and it would be free!

I started by making a list of the chores my kids need to help with and then I sketched them up one evening while the girls were playing and Ken was watching football.  Then I scanned the drawings into my computer and used them as clipart and added wording for each chore. 


I used my paper cutter to cut each one to about 2 inches square.


I already had laminating paper that I have used for different things here and there, so that didn't cost me anything.


So, I put each chore tag face down on the laminating paper.


Then I put another sheet of laminating paper on the other side.  It's a little tricky to get it in the right  place, but you can un-stick it and re-set it if you don't press it down.  
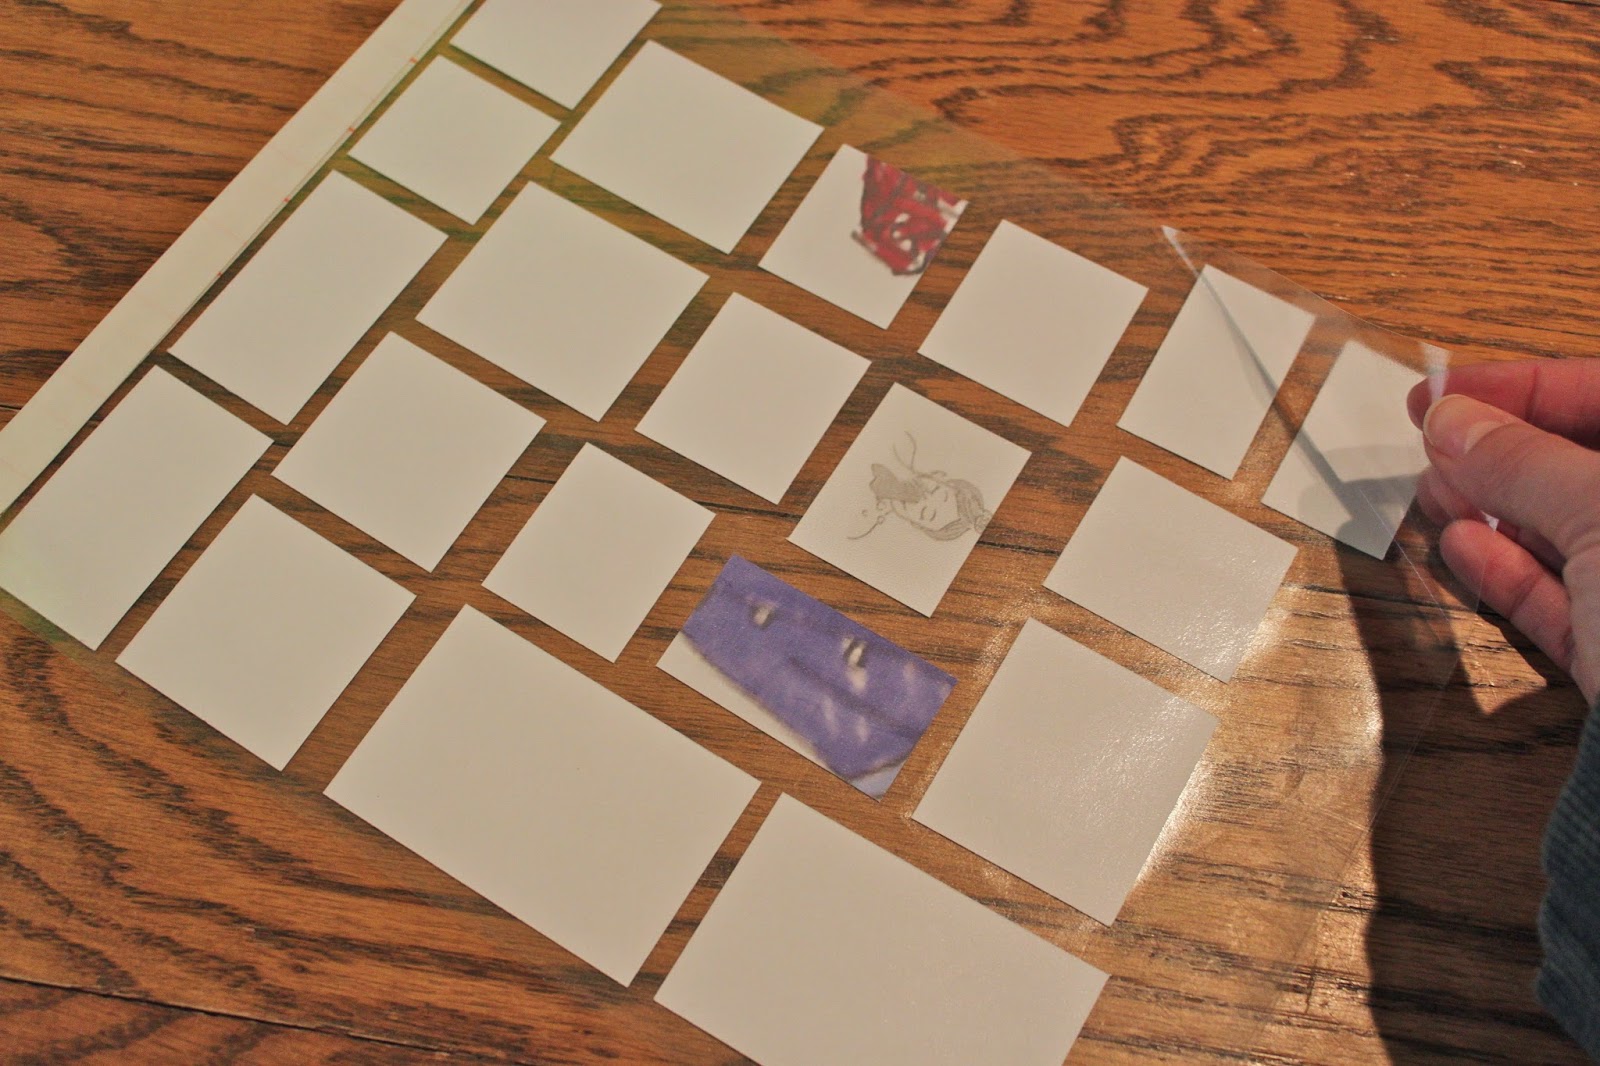


I have found that the trick to getting it stuck really well is to use an old credit card and press it down up to the edges.


 Then I cut them all out.


Cut and stuck magnets on each one.


I found these magnetic wipe-off boards at Walmart for $5. each on clearance.


And there you have it! 
So far, the girls love their "chore game."  We shall see how long it lasts!


 I keep the extra chore tags on the side of the file cabinet.


Tuesday, January 13, 2015

Clean your cell phone - the easy way


I am sharing a Tuesday tip today.  Sometimes I search forever to find the right products for a specific job.  Once I find them I want to post them so other people don't have to search so hard!

Today I want to tell you about Wireless Wipes.


About 6 months ago I was having a major breakout problem on one side of my face.  I tried a few different prescriptions from my dermatologist, which of course didn't work.  Then I decided to do my own research and figured it might be my dirty cell phone that was causing the problem.  Afterall, they say your cell phone has more germs than a toilet seat.... EWWWWWW!!!

The answer: Wireless wipes!

Wireless wipes are waterless cleaning cloths that come in 3 different wonderful scents and they clean dirt and germs from your cell phone (or other electronic device).  I use them on my phone at least once per week and I haven't had a breakout since.

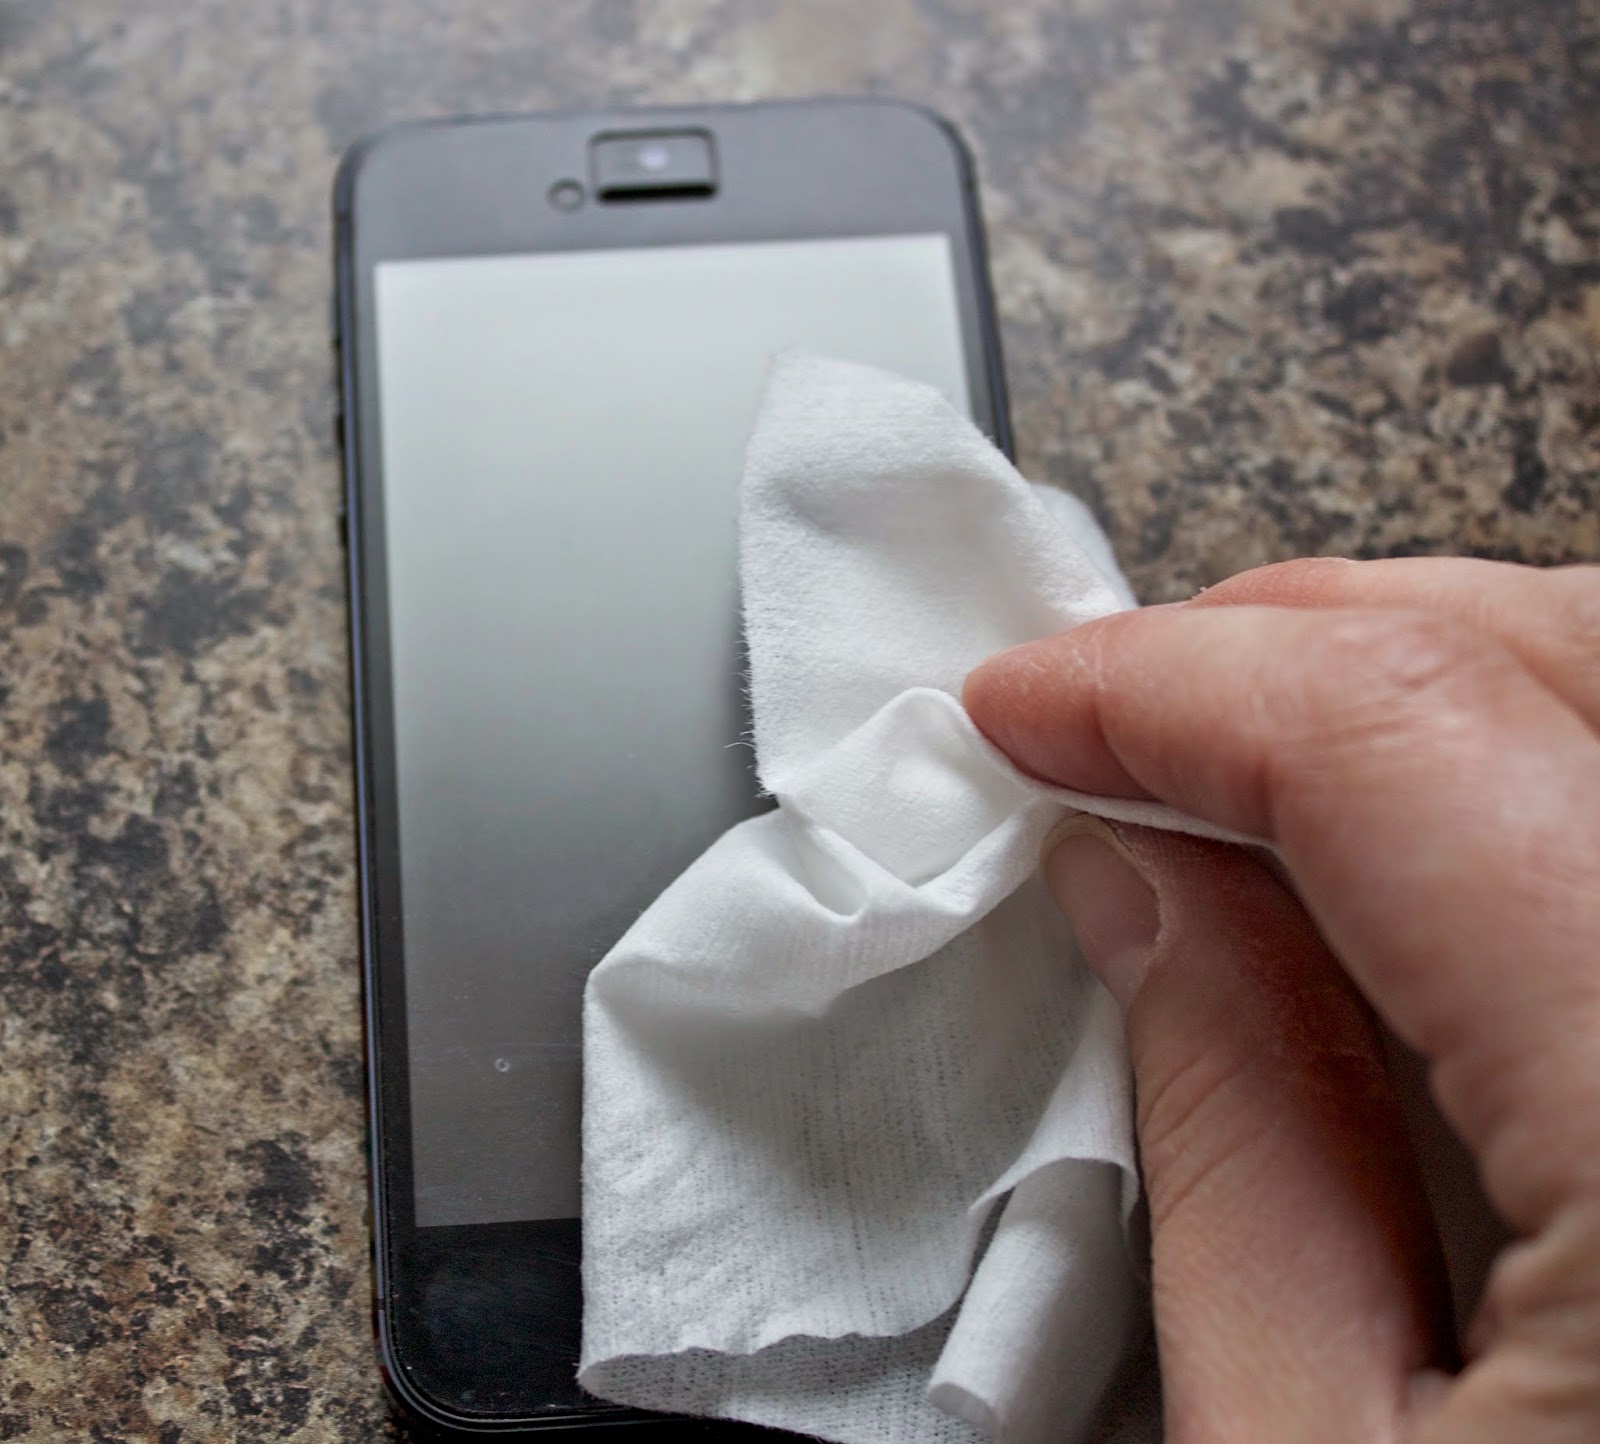
Here's my phone before with lots of finger prints and "gunk."


I just use a single wipe to clean the whole phone and the case as well.  I like these wipes because they aren't really "wet" and they are safe for your phone.


After - Clean phone!


Wireless wipes are around $10 for 3 handy resealable packs (12 wipes each pack).  You can buy them here.


Totally worth it!

(*This is not a sponsored post.  I just really like this product and wanted to share my experience with it.)


Monday, January 12, 2015

New Year New Plan...


I am not a huge fan of resolutions.  I would rather try to make small but manageable changes that last for the long term.

In the past my struggle has been to balance my motivation to complete projects with my motivation (or lack thereof) to take care of myself.  So this year I thought...."Why not tie those two things together?!"

So, I formulated a plan for myself.

The 1/10/1 Plan:

1) GET FIT: Lose 1 pound per week (for at least 30 weeks since I have about 25-30 pounds to lose).  

I plan to do this by exercising and being mindful of what I am eating and when I am eating.  (Since I just had major surgery - a few weeks ago - the exercising part will start slow at first).

2) DE-CLUTTER: Eliminate 10 items from my house per week.

These items could be anything from large things like pieces of furniture to small items like old notebooks.  I plan to ask myself these questions when deciding what to eliminate : 1) do I need it? 2) do I love it? 3) if it were gone would I miss it?

3) BE PRODUCTIVE: Complete 1 project per week.  

These projects might range from completing my sitting room makeover to jewelry commission work to cleaning out and organizing my junk drawer.

I plan to start on Feb 1st and I plan on rewarding myself every weekend if I accomplish these 3 things each week.  I realize some weeks might be better than others, but I hope to really give this a good try!

I also plan to keep a running tally.  If I can stick to this in the next year, I could lose 30 lbs, get rid of 480 items, and do 48 projects!

Okay...here goes!

Friday, January 9, 2015

Fabulous Friday... thinking of spring.

Well, winter has officially begun.  With the temperatures here in the negative numbers the last few days -  I am already dreaming about spring.  I planted some violets last spring that I got from a friend of mine and I am looking forward to watching them bloom this year.

Here is a painting of violets I did last spring.   I thought I would share it with you.  I would love to do more flower paintings this year and have them made into cards, etc. to sell.  I think this would make a pretty birthday card... What do you think?


Wednesday, December 31, 2014

How we live without a microwave...

Yes, you read that right!  We don't have a microwave.  About a year ago (and after a strange "zap" our microwave quit working.  "Why don't we just not replace it?!" I said to K.  He easily agreed.  So, we have been without a microwave for a year.


"But Jen,"....you say, "How do you heat up leftovers?"

Well... the same way as we cook them - the oven or the stove. (or sometimes the toaster oven).  And you know what?!  Food and leftovers actually taste better.  They even taste the same as when they were cooked in the first place.

Ever had microwaved leftover chicken? Yeah, gross!  How do we cook sweet potatoes? In the oven.  Yes, it takes a bit longer, but they taste SOOOO much better.  I just try to plan meals better so I am making the most efficient use of my oven (like cooking meat and potatoes and veggies in there all together).

We weren't necessarily concerned about the harmful effects of microwaving food.  It was more just a sense of simplification for us.  Why keep another appliance that takes up valuable counter space if we really don't need it?  We (okay, mostly I) have been trying to make an effort to simplify life and eliminate things we don't need, love, or are extremely useful, so not replacing the microwave seemed like a no brainer to me.

I am working on a plan for de-cluttering and simplifying in the new year and I plan to share it soon.... so stay tuned.....and Happy New Year!!!

Tuesday, December 16, 2014

Workspace - Office Makeover...

I have always been one to pick up my laptop and sit on the couch and work, so I never really needed an "office" area, but I do have a lot of files, etc. so it seemed like a nice idea to try and consolidate them into one location.

Before, this was just an empty corner near our staircase and a play area.  Now that the girls have outgrown their play kitchen it was a good place for me to "set up shop" so to speak and locate our desk and file storage.

Here's what it looked like before:


And here's what it looks like today:


The file cabinets are from Ikea and they store the files for all three businesses and our household files as well.  The bulletin board is where I hang anything I want to ponder.  Behind the blue door is our "art closet" where we keep all of our art supplies that can't live out in my studio.


This is a desk that was handed down to us from my husband's aunt and uncle.  I made it look a little more fun by adding yellow hexagon pulls from Anthropology and some wrapping paper and plexiglass for the top.  I put a few family photos underneath.  I keep my "ongoing" files here as well as my laptop so I can easily grab them and work anywhere.


The art is a notebook cover that I cut off the notebook when it was filled and put it in a frame. The black birds are repurposed from a photo hanger kit from Target.  The chair pad is vintage.


It's nice to have an organized place to put everything... even if I am still sitting on the couch while I type this!

Tuesday, December 9, 2014

Homemade Bath Salts...

Every year at holiday time I try to make some of our gifts, especially teacher gifts.  In the past I have made -  homemade soap, bath bombs, lip balm and cinnamon ornaments.  This year I made lavender scented bath salt.  Hopefully the teachers can use the time during break to relax from the stresses of school and recover for the new year.  I thought this bath salt might help!


Here's what you need:

1 cup epsom salt (can be purchased in the first aid section of any drug store or grocery store)
1 cup coarse sea salt
6-8 drops of essential oil of your choice (found at most craft stores)
6-8 drops of food coloring

See mixing instructions below.


First: Mix both salts together in a glass or metal bowl.


Then: add food coloring and mix really well.  Sometimes it takes a bit to get the color incorporated throughout.


Once it is all mixed it should look kind of "speckled".


Next: add essential oil and mix well.


When done it looks and smells beautiful...and it can't get easier than that!


I put ours in some recycled jam jars and made cute paper labels for the tops.


I hope the teachers like it and I might even take a bath and use I bit for myself during this stressful season!
Related Posts Plugin for WordPress, Blogger...